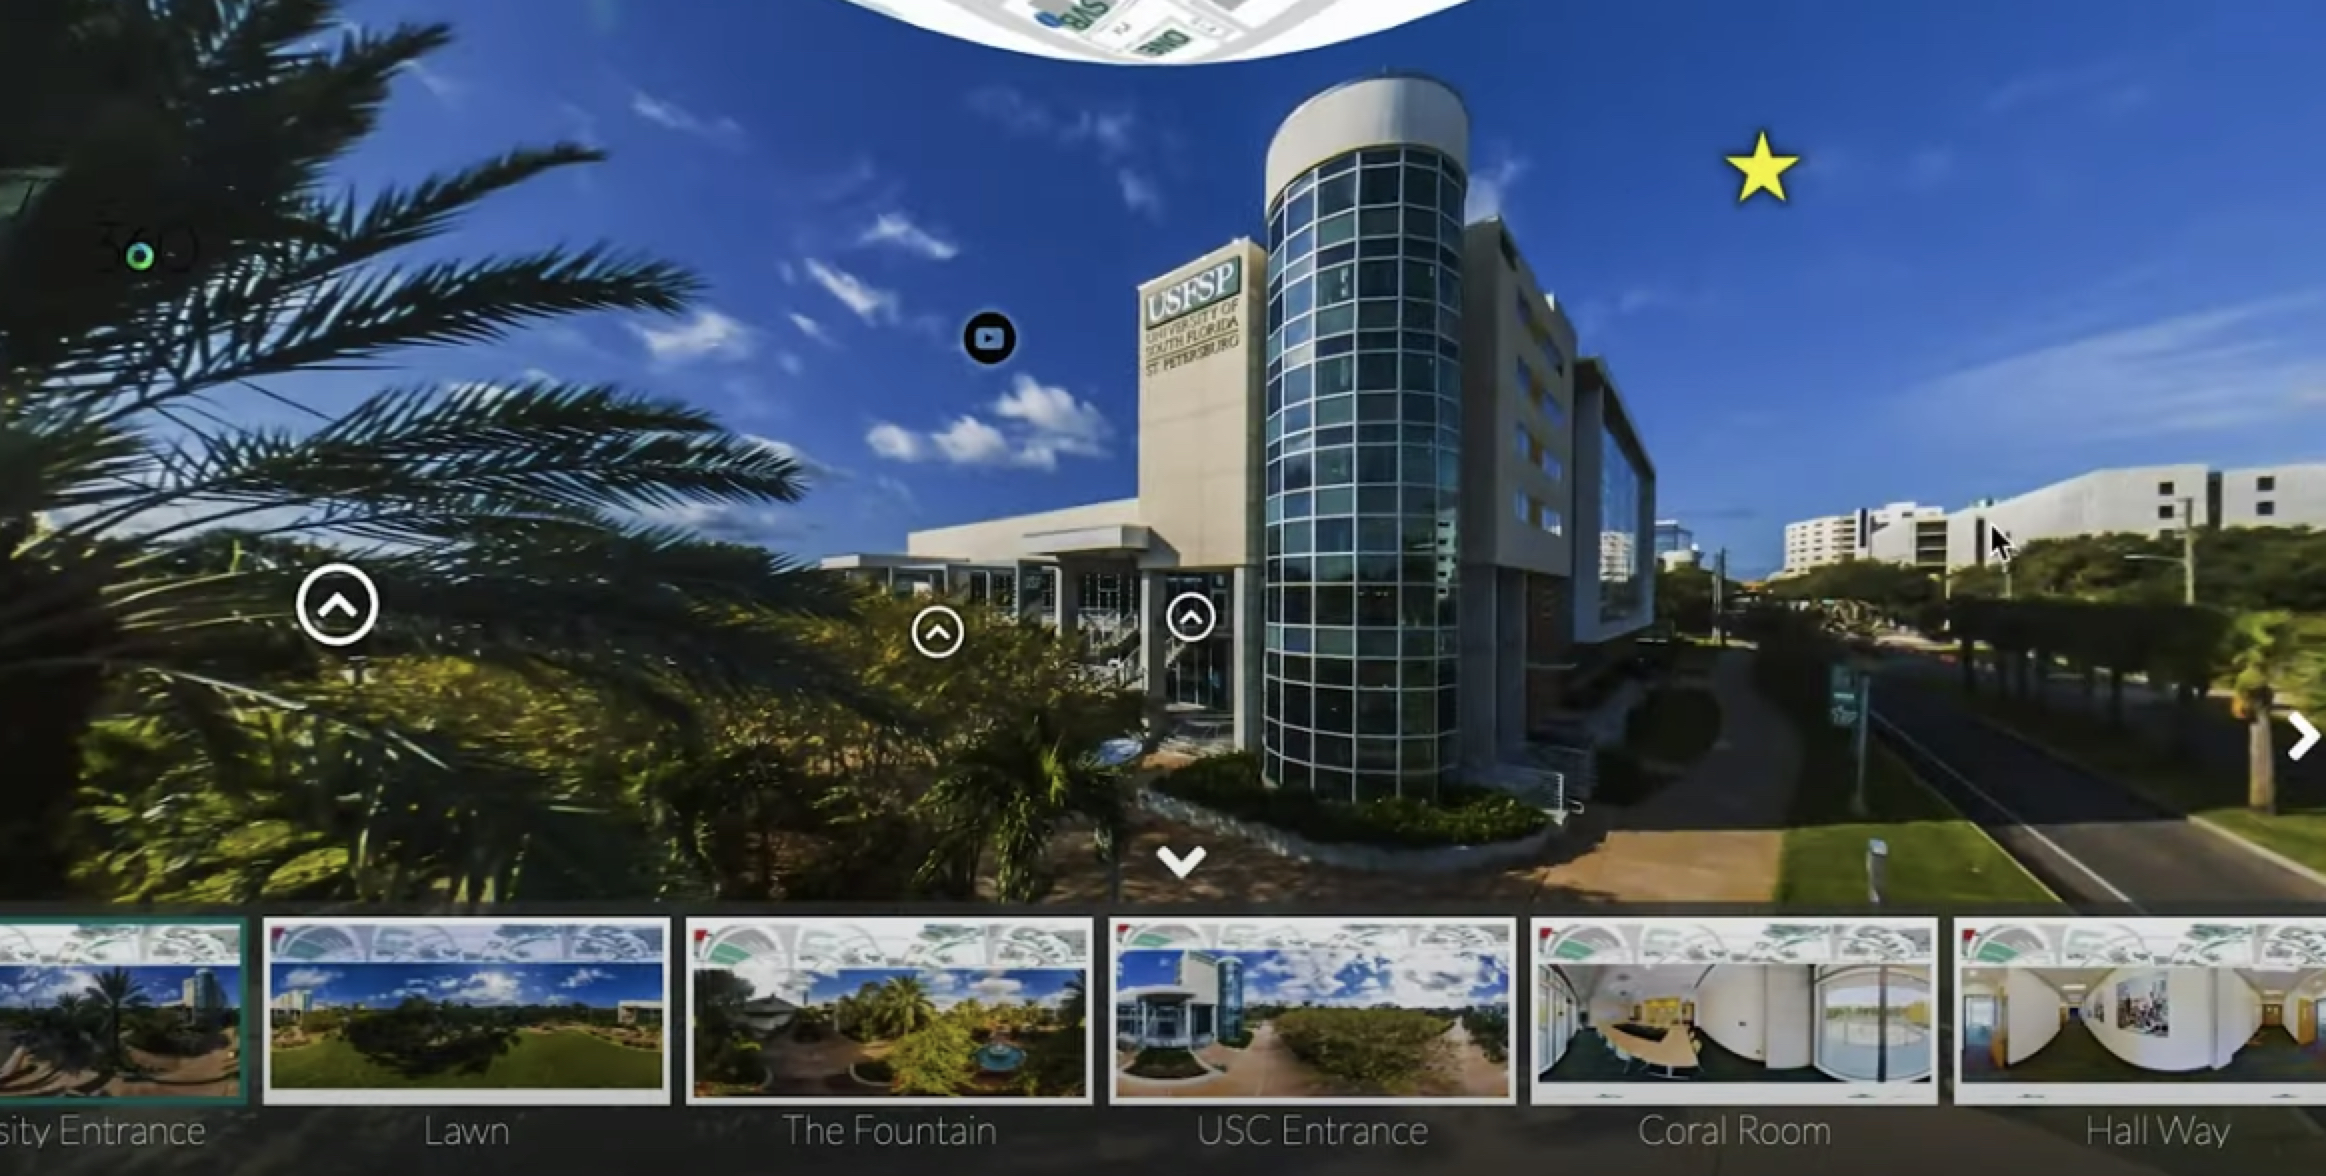
How to get the best 360 image quality for Virtual Tours using Ai Software – Joel Neagles
In this video, Joel Neagles is going to show you how to create the best possible 360 images using whatever camera that you may own. He uses Neat Image, a digital filter that reduces visible noise in images as well as digital noise, film grain, JPEG artifacts, and other imperfections. Click play and watch this video:
One of the biggest issues with 360 cameras, even with the latest DSLR ones such as the Ricoh Theta Z1, is noise and their sensors that are not well equipped or advanced enough to handle even the slightest hint of low light. Neat Image is awesome software that can help solve these issues.
How do you download and use the Neat Image software? Just follow these steps below:
- On the home page for Neat Image, you will see a brief overview of the different specs of their software and what it can actually do for you on the technical side. Download the demo you can download under their plugin, which they offer either for Windows or for Mac.
- After you purchase the software, you will get an email to download it.
- After downloading, go to your Adobe Photoshop Lightroom to edit the image. You can either do the noise reduction first and then edit in Lightroom or you can edit in Lightroom and then use the Neat Image noise reduction plug-in. Either way, you want to do it it’s fine.
- Go to Filter and choose Neat Image. Then click Reduce Noise. It will open up a screen, where you will see four tabs: Auto Profile, Load Profile, Auto Match, and Auto Fine Tune. The Load Profile uploads custom loaded profiles that you can download from their site for specific camera sensors, but there’s not one for any 360 camera yet
- Click Auto Profile to auto-select an area, which is usually somewhere flat with no objects on it, such as a wall or a ceiling.
- After that, click Auto match, and then Auto Fine Tune.
- Then go to Noise Filters Settings. Drag and drop the box to show a filtered version of the image. The rest of the image outside the box is going to be unfiltered.
- On the right side of the screen, you will see options like Noise Reduction Amount, Sharpening, and Noise Level.
- Tips: For the Luminance and Noise Reduction Amount, try not to go over 70. You can go up to 75 but anything higher than that range is going to make the overall image look kind of fake and plastic-like.
- Adjust the Sharpening and hit Apply.
- Go up to click File and then hit Save. This will save it right to the Lightroom again where you will see the before and after images.
