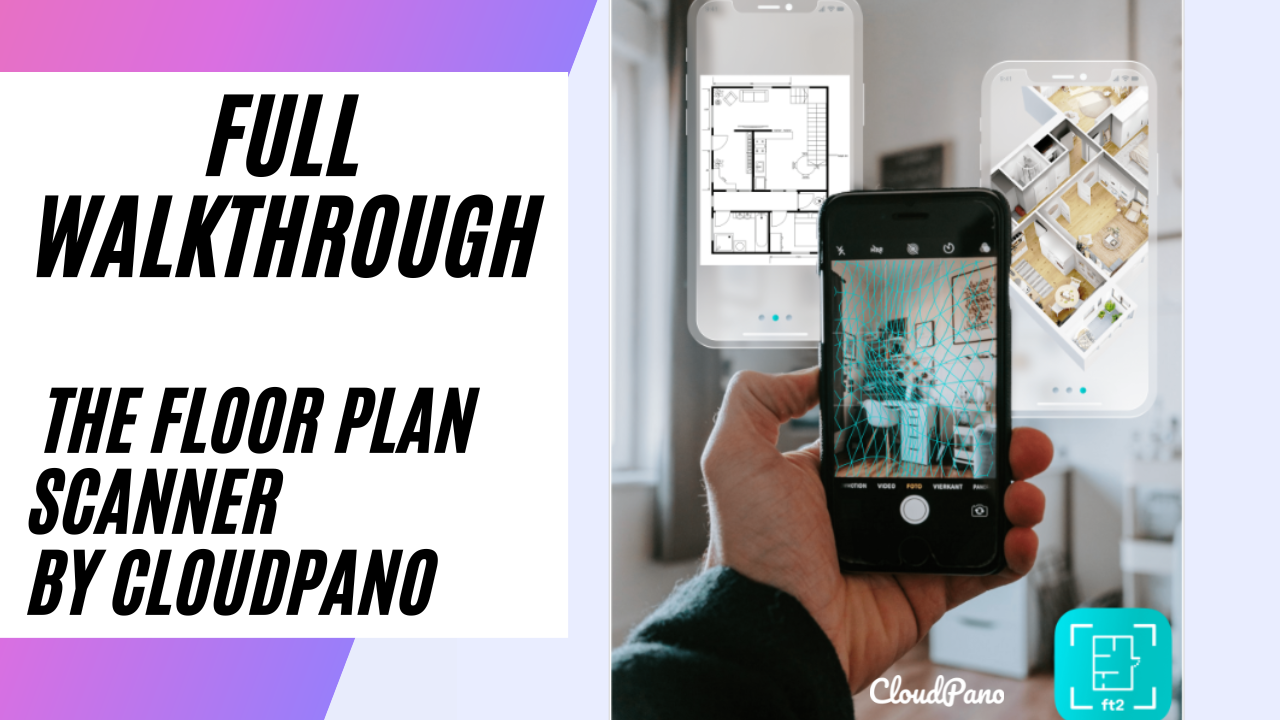
Full Walkthrough – The Floor Plan Scanner By CloudPano

Full Walkthrough – The Floor Plan Scanner By CloudPano
In this short video, we take a quick look at the Floor Plan Scanner App and all its features. When you first log in to the app, you’ll be greeted with a small dashboard, similar to what you see in the video. To register for the app, you’ll need to add your name, email, and password. It’s important to note that if you’re already a CloudPano user, you’ll need to create a new account specifically for the Floor Plan Scanner App.
Once you’re logged in, you’ll have a few options to choose from on the menu. You can view your previous orders, check out the tutorial on how to use the app, and even access the help page for answers to any questions you may have. To make your first order or start your first scan, you’ll simply click on the big plus button. This will create a new job and prompt you to add the address of the scan, as well as the level name.
The app will then guide you through the process of scanning the space and creating a 3D model of it. Once the model is created, you’ll have the option to add photos or notes about the project. When you’re ready to order, you’ll be able to select the number of floors and choose any upgrades or add-ons, such as color or site plans.
The app also offers a variety of advanced options, such as the ability to select your preferred language, choose between feet or meters, and even add your logo to the floor plan. Once you’ve made all your selections, you’ll be prompted to export and upload your 3D model to our servers.
Overall, the Floor Plan Scanner App is a powerful tool that makes it easy to create accurate and detailed floor plans in a matter of minutes. Whether you’re a professional architect or designer, or just need a floor plan for personal use, this app is sure to come in handy. So, it is a must have app for professionals in the real estate and construction industries.


