


*[New Feature]* How To Set Up Automatic Walkthrough Navigation On Your Virtual Tour Software
New Feature! You can now set up automatic walkthrough navigation on CloudPano.com! Learn more by watching this video. Get started by creating a CloudPano Pro Plus account here: https://www.cloudpano.com/add-to-cart/
Watch the webinar “How To Start a Wildly Profitable Virtual Tour Business” Click here: https://virtualtourprofit.com/index.htmlSHOW LESS
Navigation Modes:
Natural Movement Navigation aligns the initial heading in a scene to match the heading from the previous scene. This makes the user feel as if they are actually “walking through” the tour.
For natural movement navigation to work, please ensure you Set the North Point of all your photos!
Initial View navigation ensures the user always looks at the same initial view of a scene – no matter where they come from. Useful to ensure each scene always opens with the user-facing a certain direction. This is CloudPano`s classic navigation and is the default.
Hybrid Movement Navigation allows the user to combine the two modes together. If the user comes to the scene through the hotspot, mode Natural Movement Navigation is used. If the user comes to the scene through the UI Ribbon, then mode Initial View Navigation is used. This allows the user to take advantage of both modes.
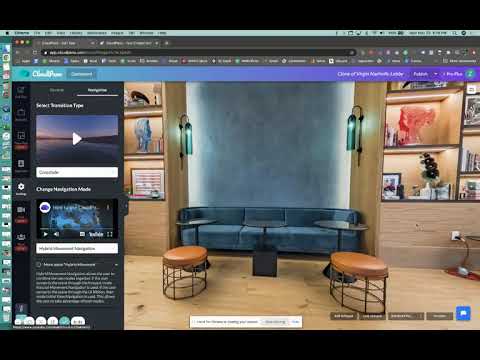
How to Set Up Automatic Walkthrough Navigation On Your Virtual Tour Software
- Login to app.cloudpano.com
- Create a virtual tour
- Go to Settings> Navigation tab>Change Navigation mode>Click the drop-down bar and pick your Navigation setup
- Set the North Point or Initial view of all your photos
- Publish and Share your tours
Question: How is this an automatic Walk-Through?
How to set a North Point? It’s mentioned in almost every article but no explicit instructions given.
Hey sherm – its under navigation settings. Also book a time with the team and we can help. Email support@cloudpano.com