


How To Set Your Initial View From A Specific Scene On CloudPano Your Virtual Tour Software
How To Set Your Initial View From A Specific Scene On CloudPano Your Virtual Tour Software
Hello everyone,
I’m Zach Calhoon from CloudPano.com, the world’s best 360 virtual tour software. I have some exciting updates to share with you today, including a new feature release.
If you visit CloudPano.com and click on “Get Started for Free” or upgrade to the pro version, you’ll be taken to app.cloudpano.com where you can start creating your virtual tour. Once you have uploaded your 360 photos and named them, you can add hotspots, customize the initial view, and add other features like a custom tour or a panorama limit.
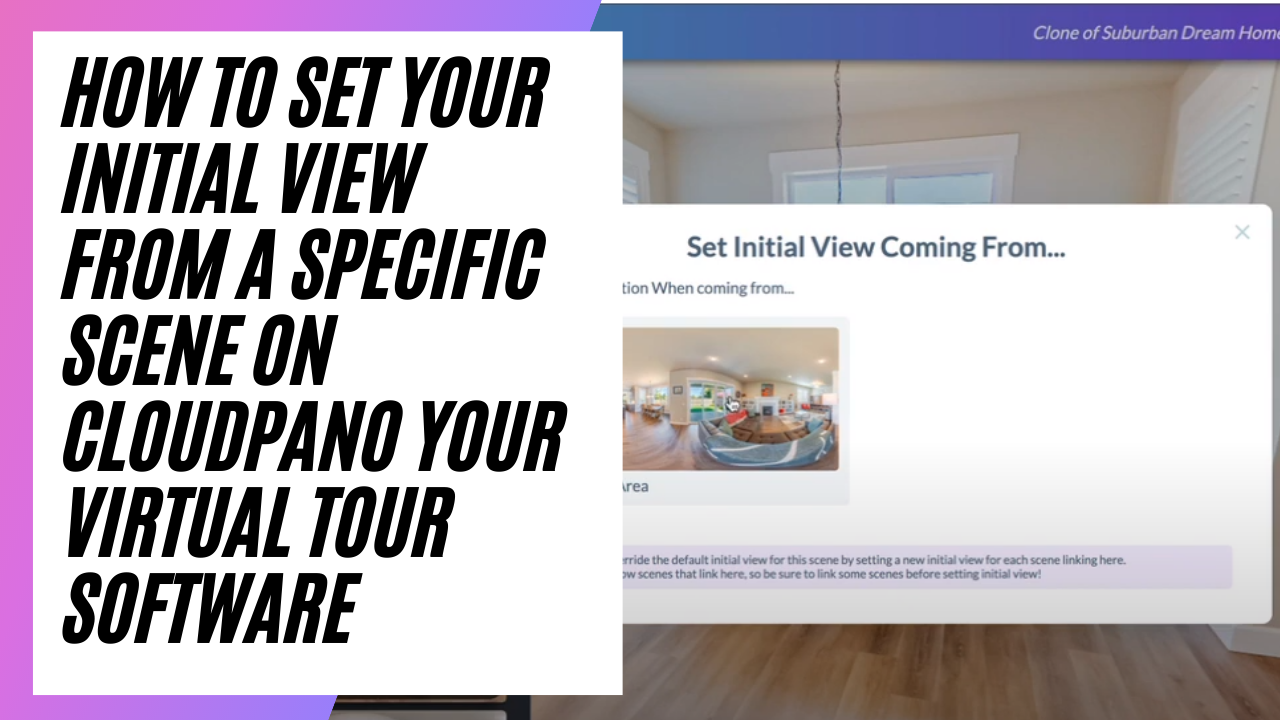
Today, I want to show you a new feature that allows you to customize the initial view coming from a specific scene. For example, let’s say you have a bedroom photo linked to a kitchen photo. Typically, you would set the initial view in the kitchen photo to face a certain direction. But now, with this new feature, you can set the initial view coming from the bedroom to face a specific direction as well. This way, when someone clicks on the hotspot linking the two photos, they will be able to see the kitchen from the perspective of the bedroom.
To set the initial view coming from a specific scene, all you need to do is click on the three dots next to the hotspot, and select “Set Initial View Coming From.” From there, you can choose the scene you want to come from and set the direction you want the viewer to face.
I hope this new feature helps you create even more immersive and interactive virtual tours. If you have any questions or need assistance, don’t hesitate to reach out to us at CloudPano.com.
Thanks for watching, and have a great day!