


How to Create a Virtual Tour
In this tutorial I will show you how to create a virtual tour using CloudPano.
Step 1: Create a CloudPano Account
If you haven’t already, create a free CloudPano account here.
Step 2: Gather Necessary Materials
In order to create great looking 360 tours you must have the following materials:
- 360 Camera
Check out this video to learn about what the best 360 cameras are.
- “Monopod with legs”
Be sure not to get a tripod as the legs will show up in your images. - Editing software (most likely comes with your camera)
Lightroom is recommended
Step 3: Take Photos
If you are unsure about how shoot a 360 camera we have many articles to help you shoot great quality photos. You can check them out here
Generally speaking, key principles to follow when taking high quality 360 photos are:
- If you are unsure about which camera settings to use, use auto mode
- Use auto HDR if your camera comes with that feature.
- Its best to have as much light as possible. Try opening windows and turning on lights.
- Remember to shoot all relevant rooms/areas. If you are unsure about a particular camera setting, shoot at multiple different settings to ensure quality
Step 4: Upload Images on CloudPano
Transfer your images from your camera to your computer. Remember where you saved it.
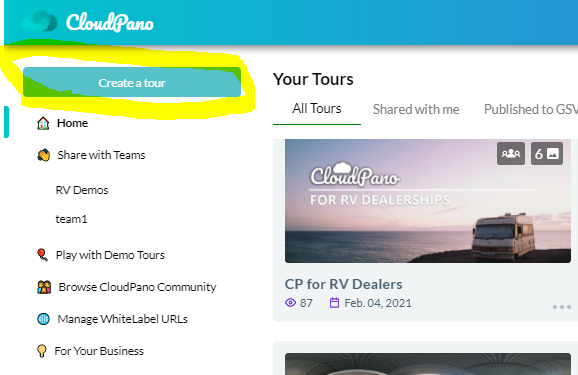
Then, login to your CloudPano and click “Create a tour” on the top right

Then select your 360 photos from your computer

Step 5: Edit the tour
Finally edit the tour by creating hotspots that lead to each of your images
There are so many more settings to play with so be sure to check out our other blog posts to learn about each of the many features on CloudPano