


360 Real Estate Photography In 2024
How to Create Stunning 360° Real Estate Virtual Tours: A Step-by-Step Guide
This guide walks you through the process of creating beautiful 360° real estate virtual tours, covering everything from understanding 360° photography to capturing the perfect shots and uploading and publishing them online.
What is 360° Photography?
360° photography allows the capture of a complete panoramic view of a space, offering an immersive experience ideal for real estate. It provides potential buyers or renters with a true sense of the property’s layout and ambiance.
Capturing the Perfect 360° Photos
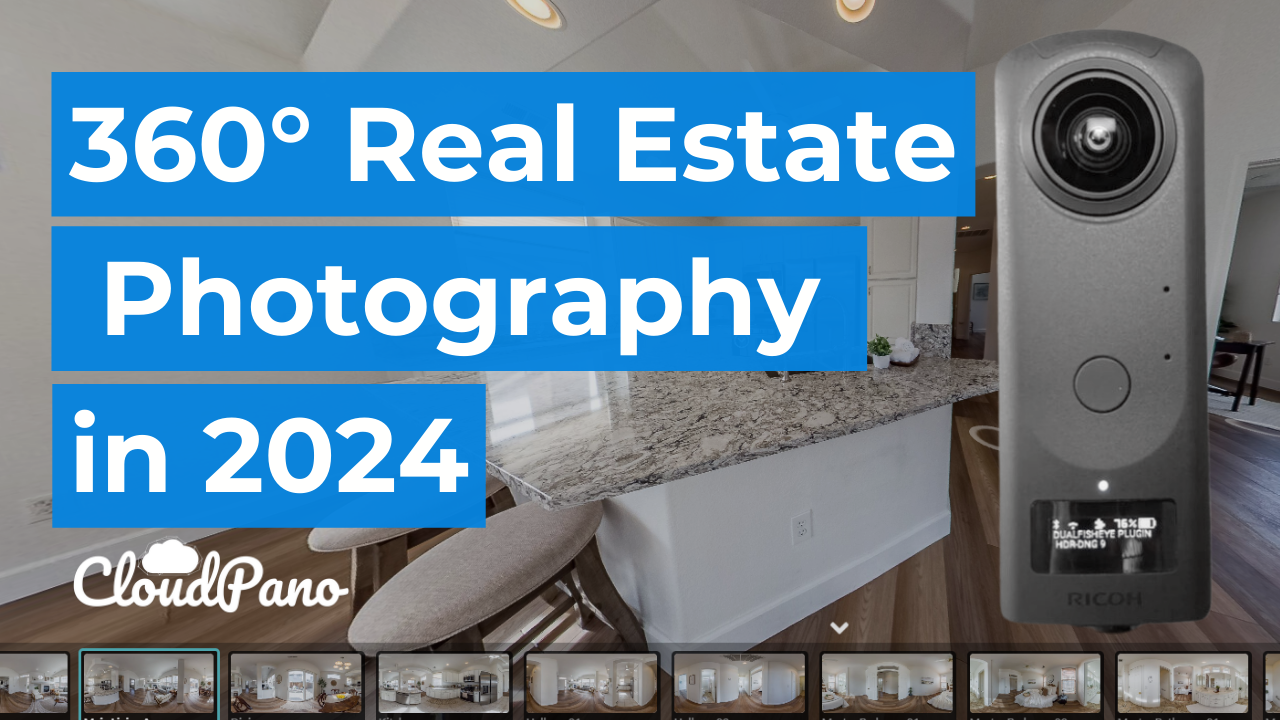
To get started, a 360° camera is essential. The Ricoh Theta Z1 is a popular choice, but any 360° camera will work. The goal is to capture high-quality images, ideally in RAW format, which contains more data than JPEGs and offers better quality, especially when edited.
Here’s a simple workflow to capture the best 360° photos:
- Install the Necessary Plugins: Install plugins like the Dual Fisheye Plugin on the camera, which helps in capturing images in HDR for enhanced photo quality.
- Set Up the Camera:
- Choose the HDR DNG option (or similar) on the camera.
- Set the timer to 10 seconds, allowing time to move out of the shot.
- Press the capture button and then step out of the frame. The camera will take several photos at different exposures, which can later be combined for the best result.
- Transfer and Edit Photos:
- Once the images are captured, transfer the RAW files to a computer.
- Use an online sharing platform like Google Drive or Dropbox to send these files to a professional editor. The editor will stitch the images together, adjust the colors, and ensure everything looks sharp and polished.
Creating the Virtual Tour
With the edited photos ready, it’s time to create the virtual tour:
- Upload to CloudPano:
- Log in to a CloudPano account and upload the edited 360° photos.
- Use the platform’s tools to arrange the photos, add hotspots, and customize the tour.
- Publish and Share:
- Once the tour is complete, click “Publish.” The tour can then be shared with clients or embedded on a website.
- Don’t forget to charge appropriately for the work—this process adds significant value to real estate listings!
Additional Tips
- Integrate with Zillow and Other Platforms: CloudPano integrates seamlessly with popular real estate platforms like Zillow, making it easy to share tours widely.
- Use the Fast Rename Tool: CloudPano’s Fast Rename Tool helps quickly label the areas in the tour, making navigation easy for viewers.
Conclusion
Creating professional 360° real estate virtual tours doesn’t have to be complicated. With the right tools and workflow, stunning results can be delivered, impressing clients and helping to stand out in the market.
This guide is intended to simplify the process, making it easier to create amazing virtual tours and showcase properties like never before!
Follow These Next Steps:
Upgrade to CloudPano Pro Plus -> click here https://www.cloudpano.com/add-to-cart
Join the Virtual Tour Profit Community -> https://www.skool.com/360-profit